
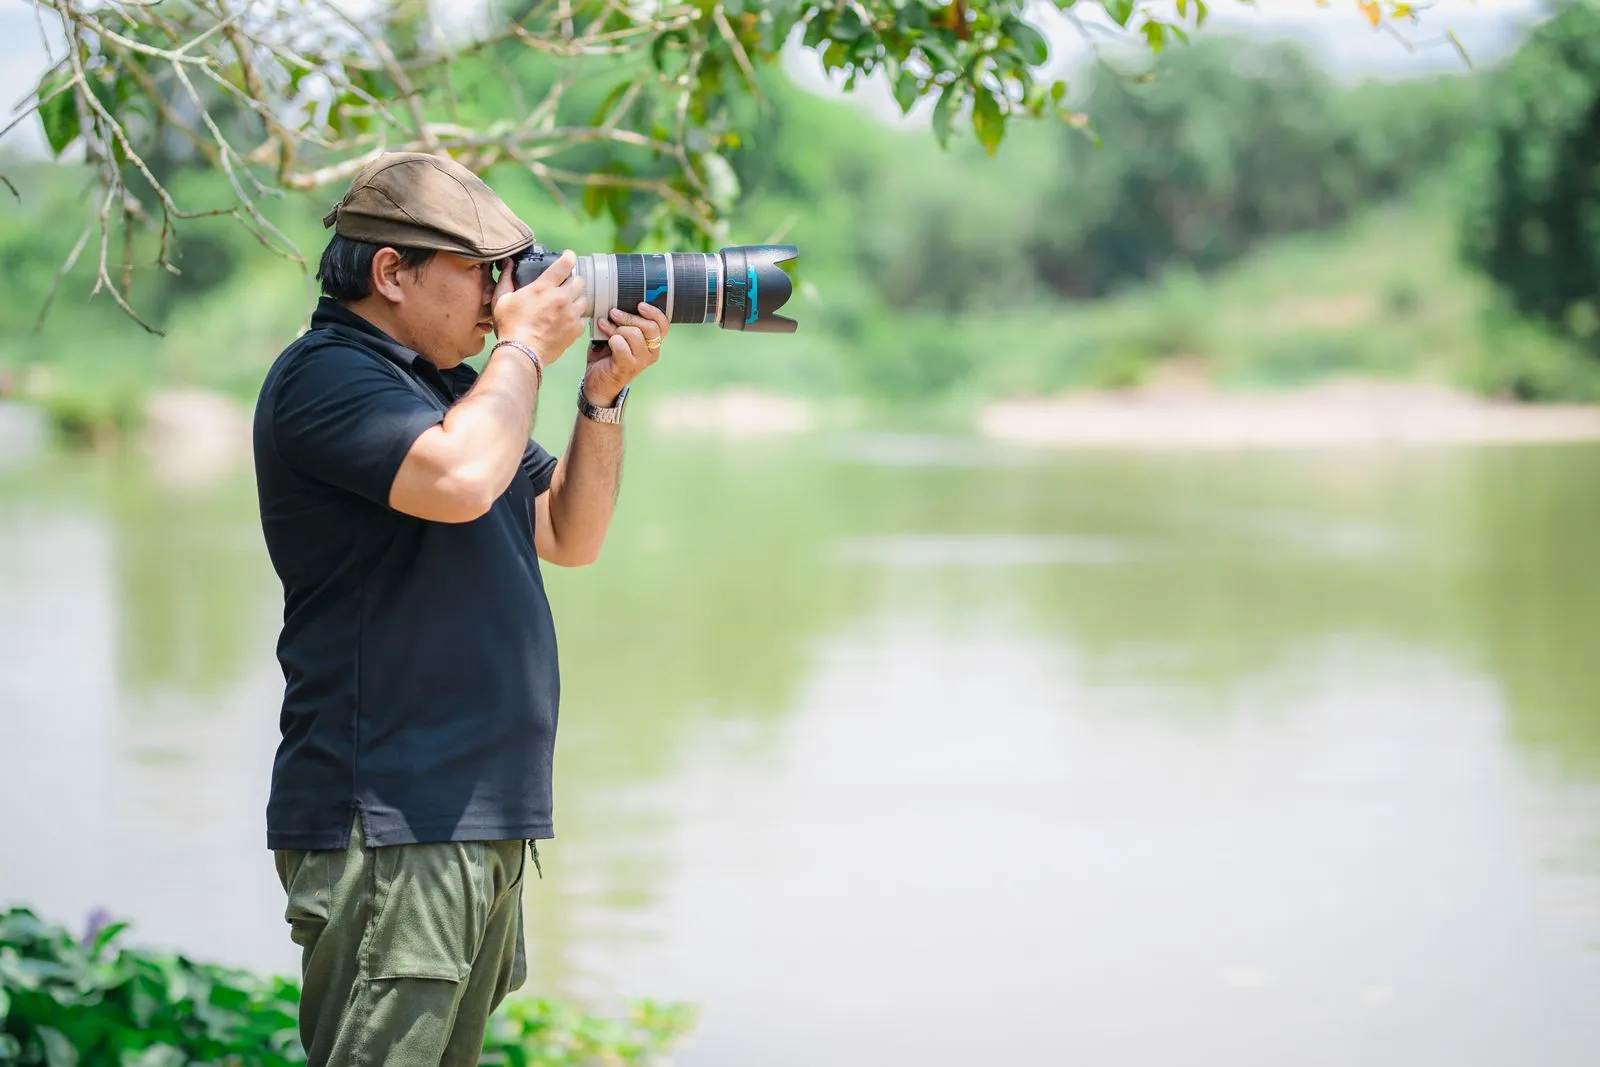
Wildlife rarely waits while you adjust your camera. A bird may take off, a deer may step into shade, and the light can change in seconds. A few reliable starting settings help you react quickly and keep attention on the animal. Set shutter speed to control motion, choose an autofocus mode that follows your subject, and check exposure so important details remain visible. Then adjust as conditions and animal behavior change.
Set Shutter Speed for Motion
Shutter speed determines how long the camera records light, and it strongly affects whether motion looks sharp or blurred. For a resting animal, start around 1/500 second and check the result. For walking wildlife, try 1/1000 second or faster. Birds in flight or sudden action may need 1/2000 second or faster, depending on their size, distance, and direction of movement.
A longer lens makes camera shake more noticeable, so use a faster shutter speed when handholding if your subject allows it. Image stabilization can reduce blur caused by your movement, but it will not freeze an animal moving through the frame. If your photos look soft, review them at full size and raise the shutter speed before making other changes.
Choose Autofocus That Tracks
Use continuous autofocus—often labeled AF-C or Servo AF—to keep adjusting focus while an animal moves. Pair it with a tracking or subject-detection area if your camera offers one. For a stationary animal, single-point autofocus can give you more control, especially when branches or grass might confuse automatic subject selection.
Place the focus point over the animal’s eye when possible. If the eye is partly hidden or the subject is moving erratically, choose a focus area large enough to stay on the animal but not so large that it jumps to the background. Learn your camera’s focus-area controls before heading out; changing them quickly is easier when you know where the buttons and menus are.
Balance Exposure and ISO
Aperture controls how much light enters the lens and how much of the scene appears in focus. A wide aperture, such as f/4 or f/5.6 when your lens supports it, can separate an animal from a busy background. If you need more of the animal in focus, or are photographing a group, stop down to a smaller aperture and check that shutter speed remains fast enough.
When light is limited, raise ISO rather than letting shutter speed fall so low that movement blurs. Higher ISO can add visible grain, but a sharp, slightly grainy image is often more useful than a clean image with motion blur. Use Auto ISO with a minimum shutter speed if your camera allows it, and set a maximum ISO you are comfortable correcting later.
Adjust for the Scene
Start with a simple setup: continuous autofocus, a suitable focus area, a fast shutter speed, and aperture priority or manual exposure with Auto ISO. Take a test frame, check the histogram or highlight warning, and adjust exposure compensation if the animal looks too dark or too bright. Bright snow, pale feathers, and backlighting can fool the camera’s meter, so judge the subject rather than relying only on the displayed exposure value.
Keep an eye on the background and the animal’s direction of travel. Leave space in the frame in front of a moving subject, and avoid changing settings while the camera is at your eye unless you can do so confidently. For each outing, note which settings worked in the light you encountered. Those notes give you a practical starting point next time.
Begin with a shutter speed suited to the animal’s movement, continuous autofocus for action, and an ISO high enough to preserve sharpness. Take a test photo, inspect the eye and important details, then make one adjustment at a time. Practice these controls before a wildlife encounter so you can respond quickly when a brief moment appears.