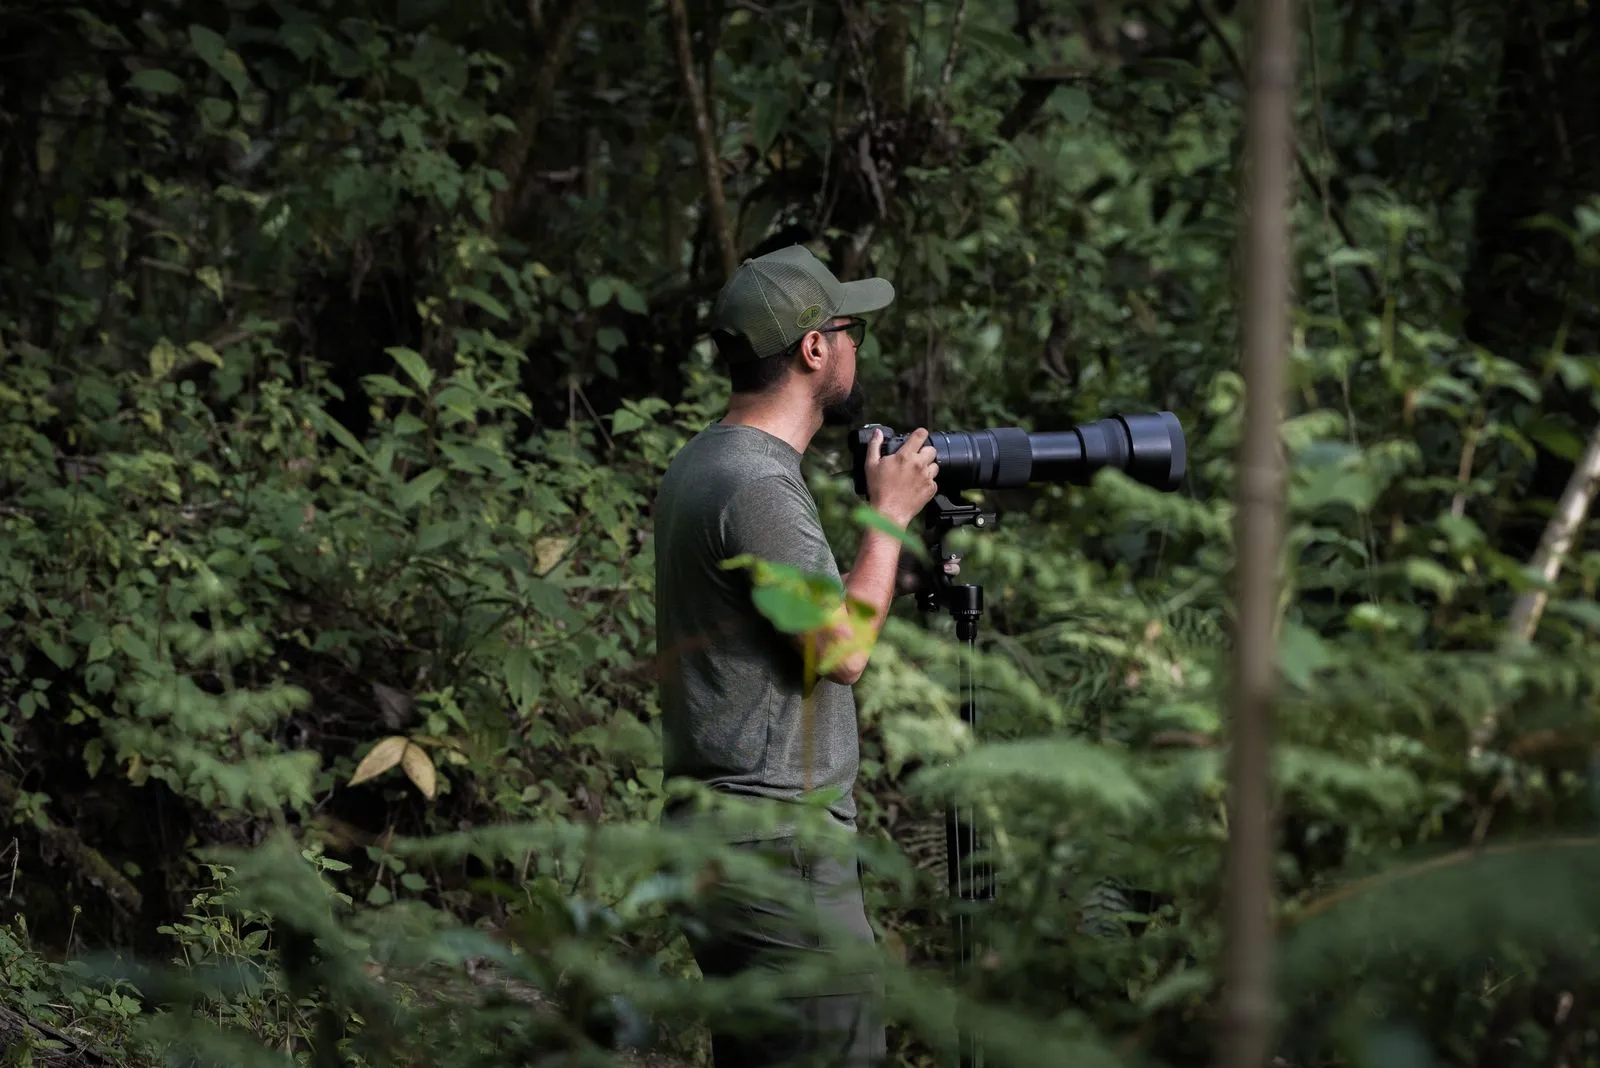
A wildlife lens needs to bring distant subjects close, but the longest lens is not always the best choice. Birds often call for more reach than large animals, while a heavy setup can become tiring during a long walk or wait. Start by considering what you photograph, how close you can safely get, and what you are comfortable carrying. Then compare focal length, weight, and budget as a balanced set rather than choosing by one specification alone.
Match focal length to subjects
Birds are small, quick, and often wary, so a longer focal length can help fill the frame from a respectful distance. Many photographers consider telephoto lenses in the 400mm to 600mm range for birds, especially when photographing wildlife in open areas. The exact reach you need depends on how close you can get, your camera sensor, and whether you are willing to crop the image afterward.
Larger animals usually occupy more of the frame, so a shorter telephoto lens may be enough, particularly when photographing from a vehicle or at a known viewing area. A zoom such as a 100–400mm can cover changing distances and make it easier to frame animals that move closer. For animals that are far away, the longer end still helps; for close encounters, a wide-to-telephoto zoom can be more flexible.
Balance reach and handling
Longer lenses tend to be larger and heavier, though designs vary. Consider the full setup, including the camera body, tripod or monopod, and any accessories. If you hike to shooting locations, test how the kit feels on a walk rather than judging it only at a counter. A lens that stays at home because it is uncomfortable will not help you make photographs.
Weight also affects how you shoot. Handholding can be convenient for tracking birds in flight, while a tripod or monopod can support a heavy lens during long waits. Image stabilization can help reduce blur from camera movement, but it does not freeze a moving animal. Check the lens’s handling and controls, and make sure you can adjust settings quickly while keeping the subject in view.
Set a realistic budget
Lens prices vary with focal length, maximum aperture, autofocus performance, and construction. A fast aperture can help in low light and separate a subject from its background, but it often adds size and cost. If you mostly photograph in daylight, a slower, lighter lens may meet your needs. Compare the features you will use with the trade-offs you can accept.
You can also compare compatible third-party, used, and refurbished lenses, but verify mount compatibility and condition before buying. Inspect the glass for scratches or haze, test autofocus across the zoom range, and check that stabilization works if included. Leave room in your budget for a memory card, support, or a protective bag if you need one; those practical items can make a lens easier to use outdoors.
Choose for your shooting style
Before deciding, list your most common subjects and locations. A bird photographer working from a fixed hide may value maximum reach, while someone tracking larger mammals on foot may prefer a lighter zoom with a broad range. Think about typical light, how close wildlife gets, and whether you need to carry the lens all day. These details narrow the options more effectively than a specification sheet alone.
If possible, handle or rent a lens before committing. Photograph a stationary subject at several focal lengths, then try tracking movement and changing focus points. Review the images at full size for sharpness and at normal viewing size for framing. A practical test shows whether the focal length, balance, and autofocus suit your habits and camera body.
The right wildlife lens gives you enough reach without exceeding your comfort or budget. Birds often benefit from longer focal lengths, while larger animals may be easier to photograph with a versatile, lighter zoom. Compare complete setups, check compatibility, and try the lens in realistic conditions before buying. Prairie Lens can help you weigh these trade-offs when you are ready to explore your options.